You see a flower pot, I see a bean pot.
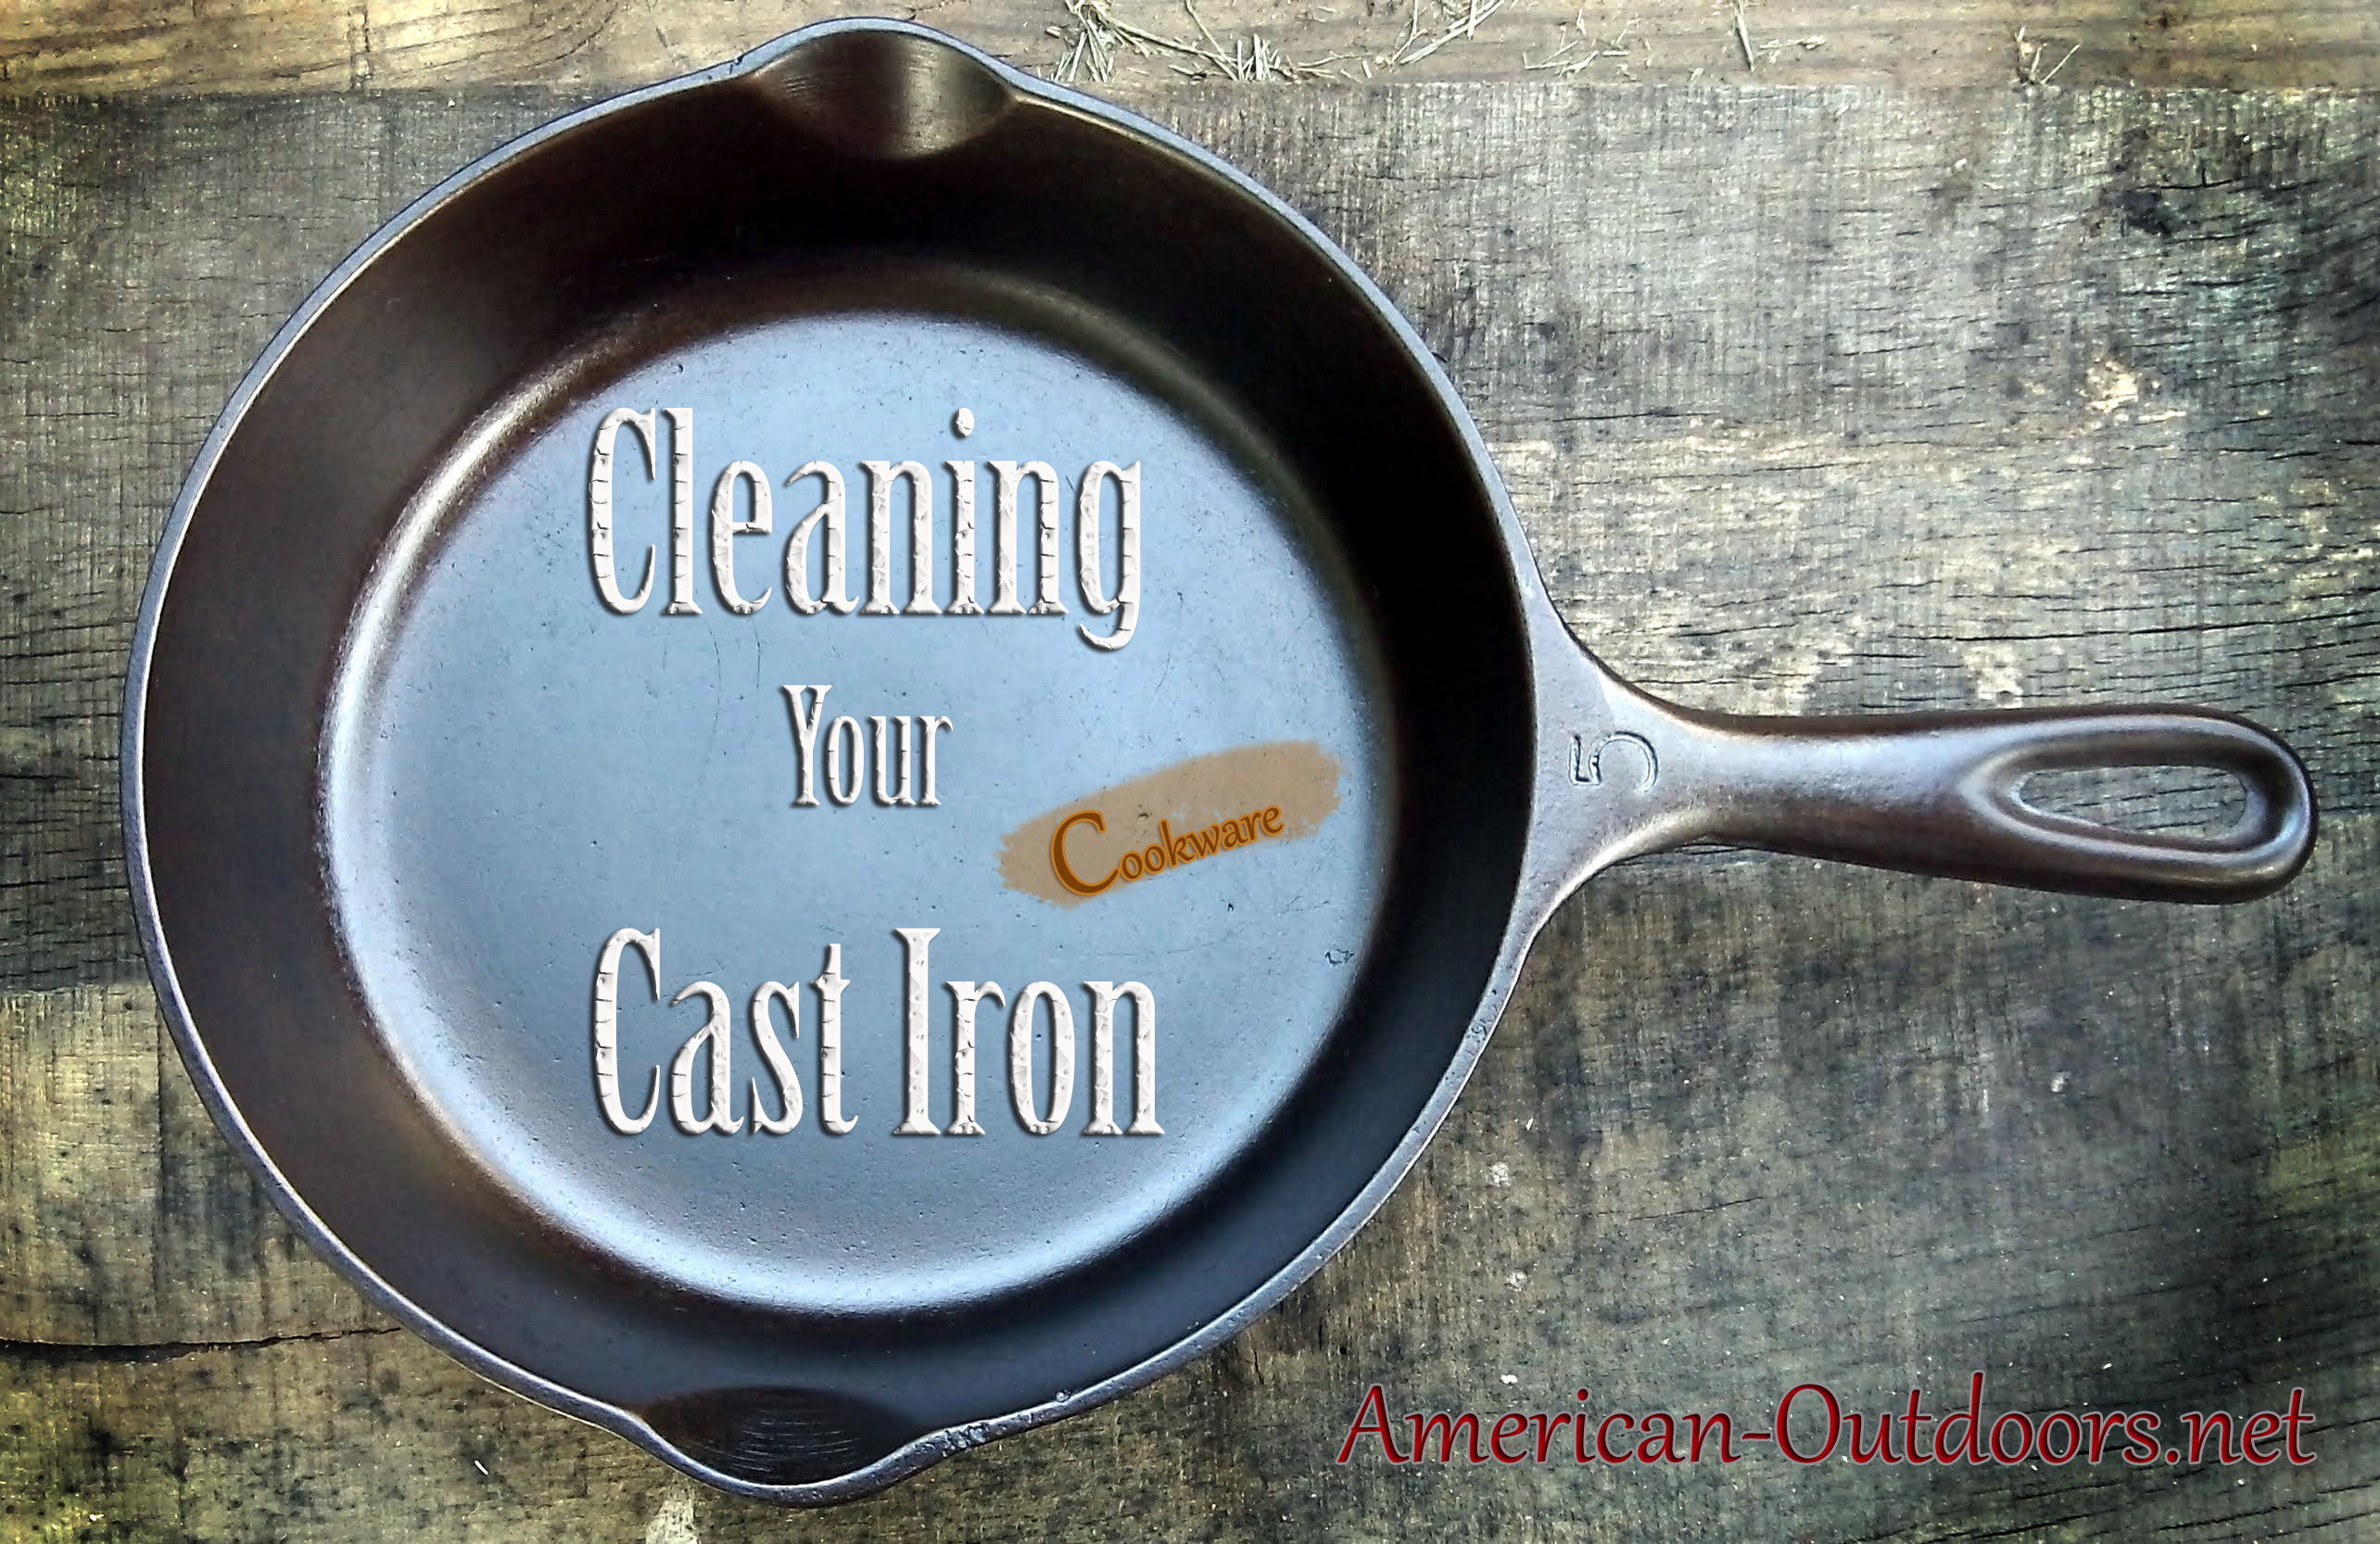
Cast iron cookware is often misunderstood in it’s purpose and misused in application. It is intimidating in weight, care and maintenance vs the much lighter off the shelf and into the dishwasher stainless and stickfree options. The truth is, cast iron is very versatile will outlive most owners with just nominal care, but it needs to maintain it’s seasoning, that layer of oil that keeps the surface smooth and protected. Without it, food burns, sticks and builds up and the inevitable begins-rust.
I won’t blind you with science, there are a lot of methods to restore rusted, flea market, discarded, scrap pile cast iron. Soaking in vinegar, treating with molasses, exposure to extreme heat and lye. The method I’ll cover here, using electrolysis is a simple method that isn’t labor intensive yet very effective.
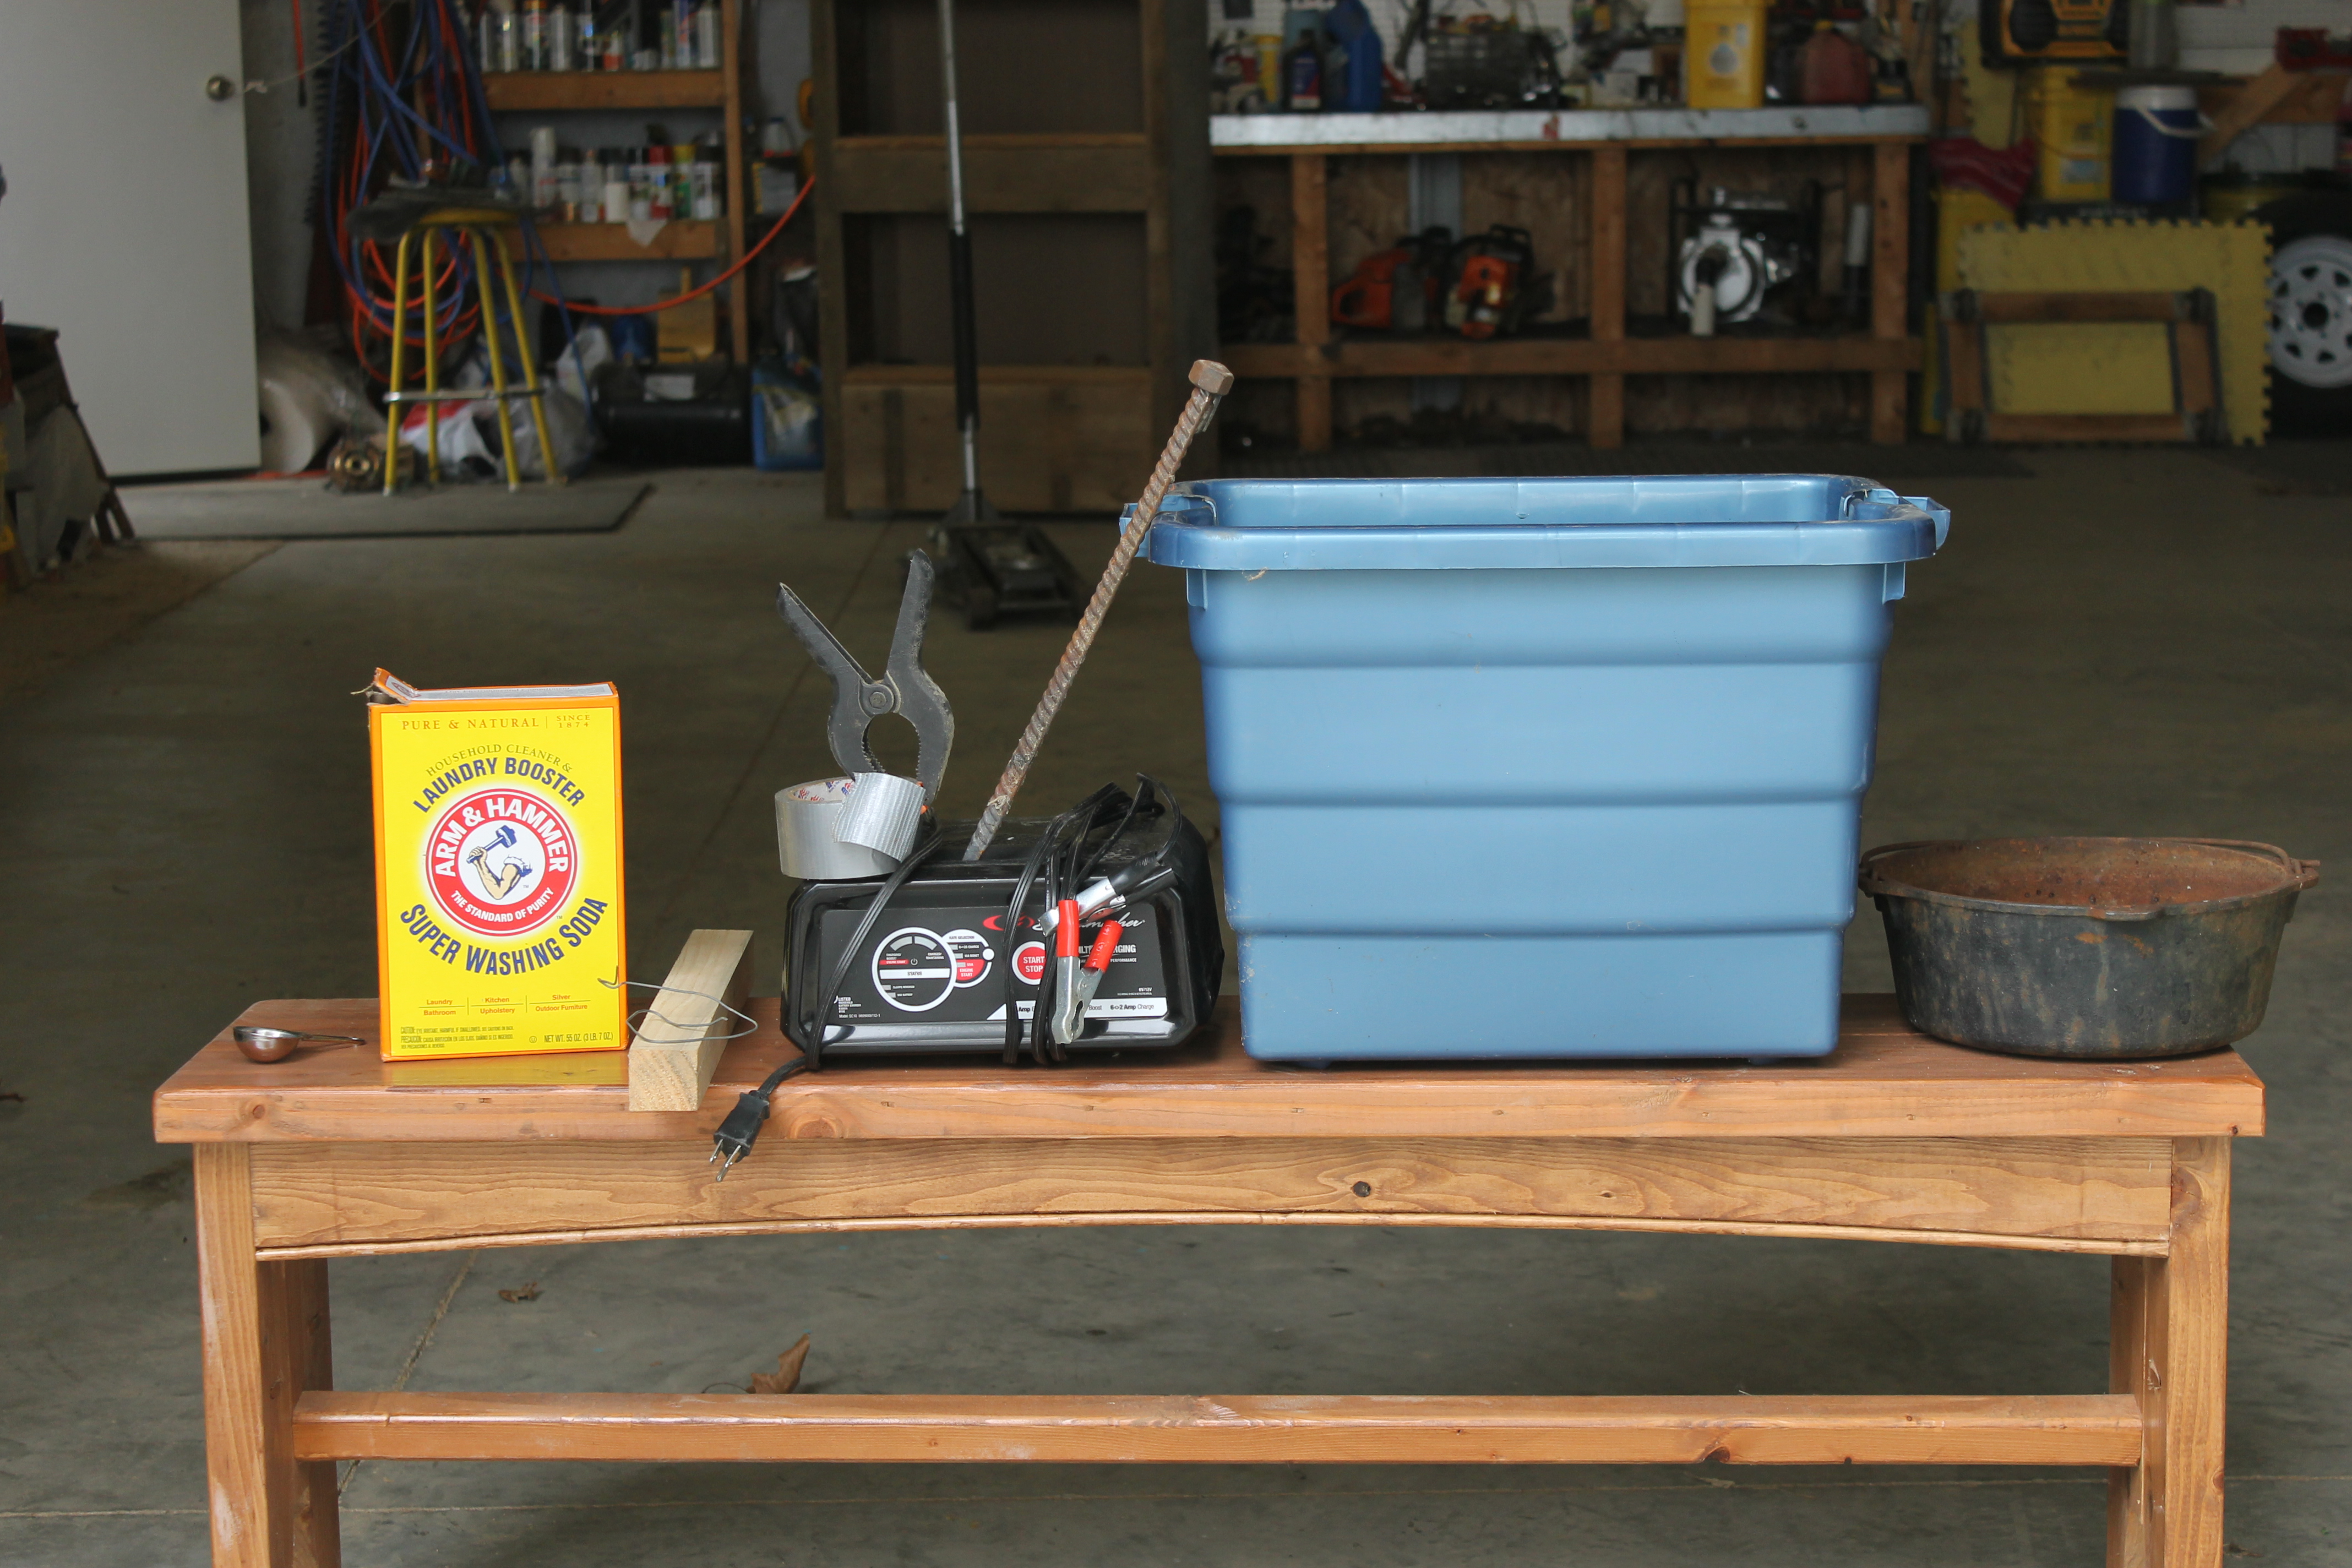
Here is what you need
Rusty pot
A plastic container.
Battery charger
An anode ie rebar
A clamp or some duct tape
Small piece of wood ie 1”x2”
Metal coat hanger or baling wire
Washing soda
Tap water
Place your container somewhere well ventilated and out of the way of traffic and kids and pets.
Fill your container approximately ¾ full of water. Avoid filtered or distilled water; plain old tap water works fine and is best for conducting electrical current for this method.
Add one tablespoon of washing soda per gallon of water and stir it up.
Place the anode in the corner of your container and secure it using a clamp or duct tape.
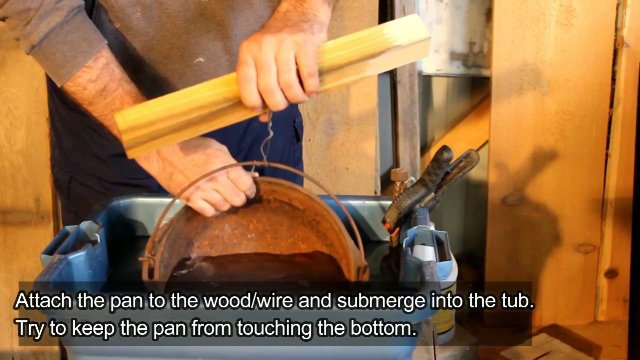
Next you should lower your cast iron into the water, handle up if it has one.
Place the piece of wood across the top of the container and cut a piece of the coat hanger into a suitable length securing it to the cast iron and loop it around the wood. Make sure the cookware is completely submerged, yet not quite touching the bottom if possible. You can add more water at this point to cover the item if you need to.
Now, with the battery charger still unplugged, attach the negative (black) lead to the rim or handle of the cast iron. Attach the positive (red) lead of the charger to the anode. Make sure your contact points are both clean. Set the charger to the 2 amp setting and plug the charger in. You should begin to see subtle movement in the water and possibly some slight bubbling as the process begins. 
The anode is the sacrificial piece, as the rust is removed from the pan it will gravitate to the anode. You should notice over time the water becoming orange; there may even be a rusty, foamy scum on the surface. This means the electrolysis is working. The length of time to completion is relative to the severity of the rust on your pan. It may be ready for removal in a few hours or it could take 24-48 hours depending on how bad it is.
Once you are ready to remove the piece, unplug the battery charger first.
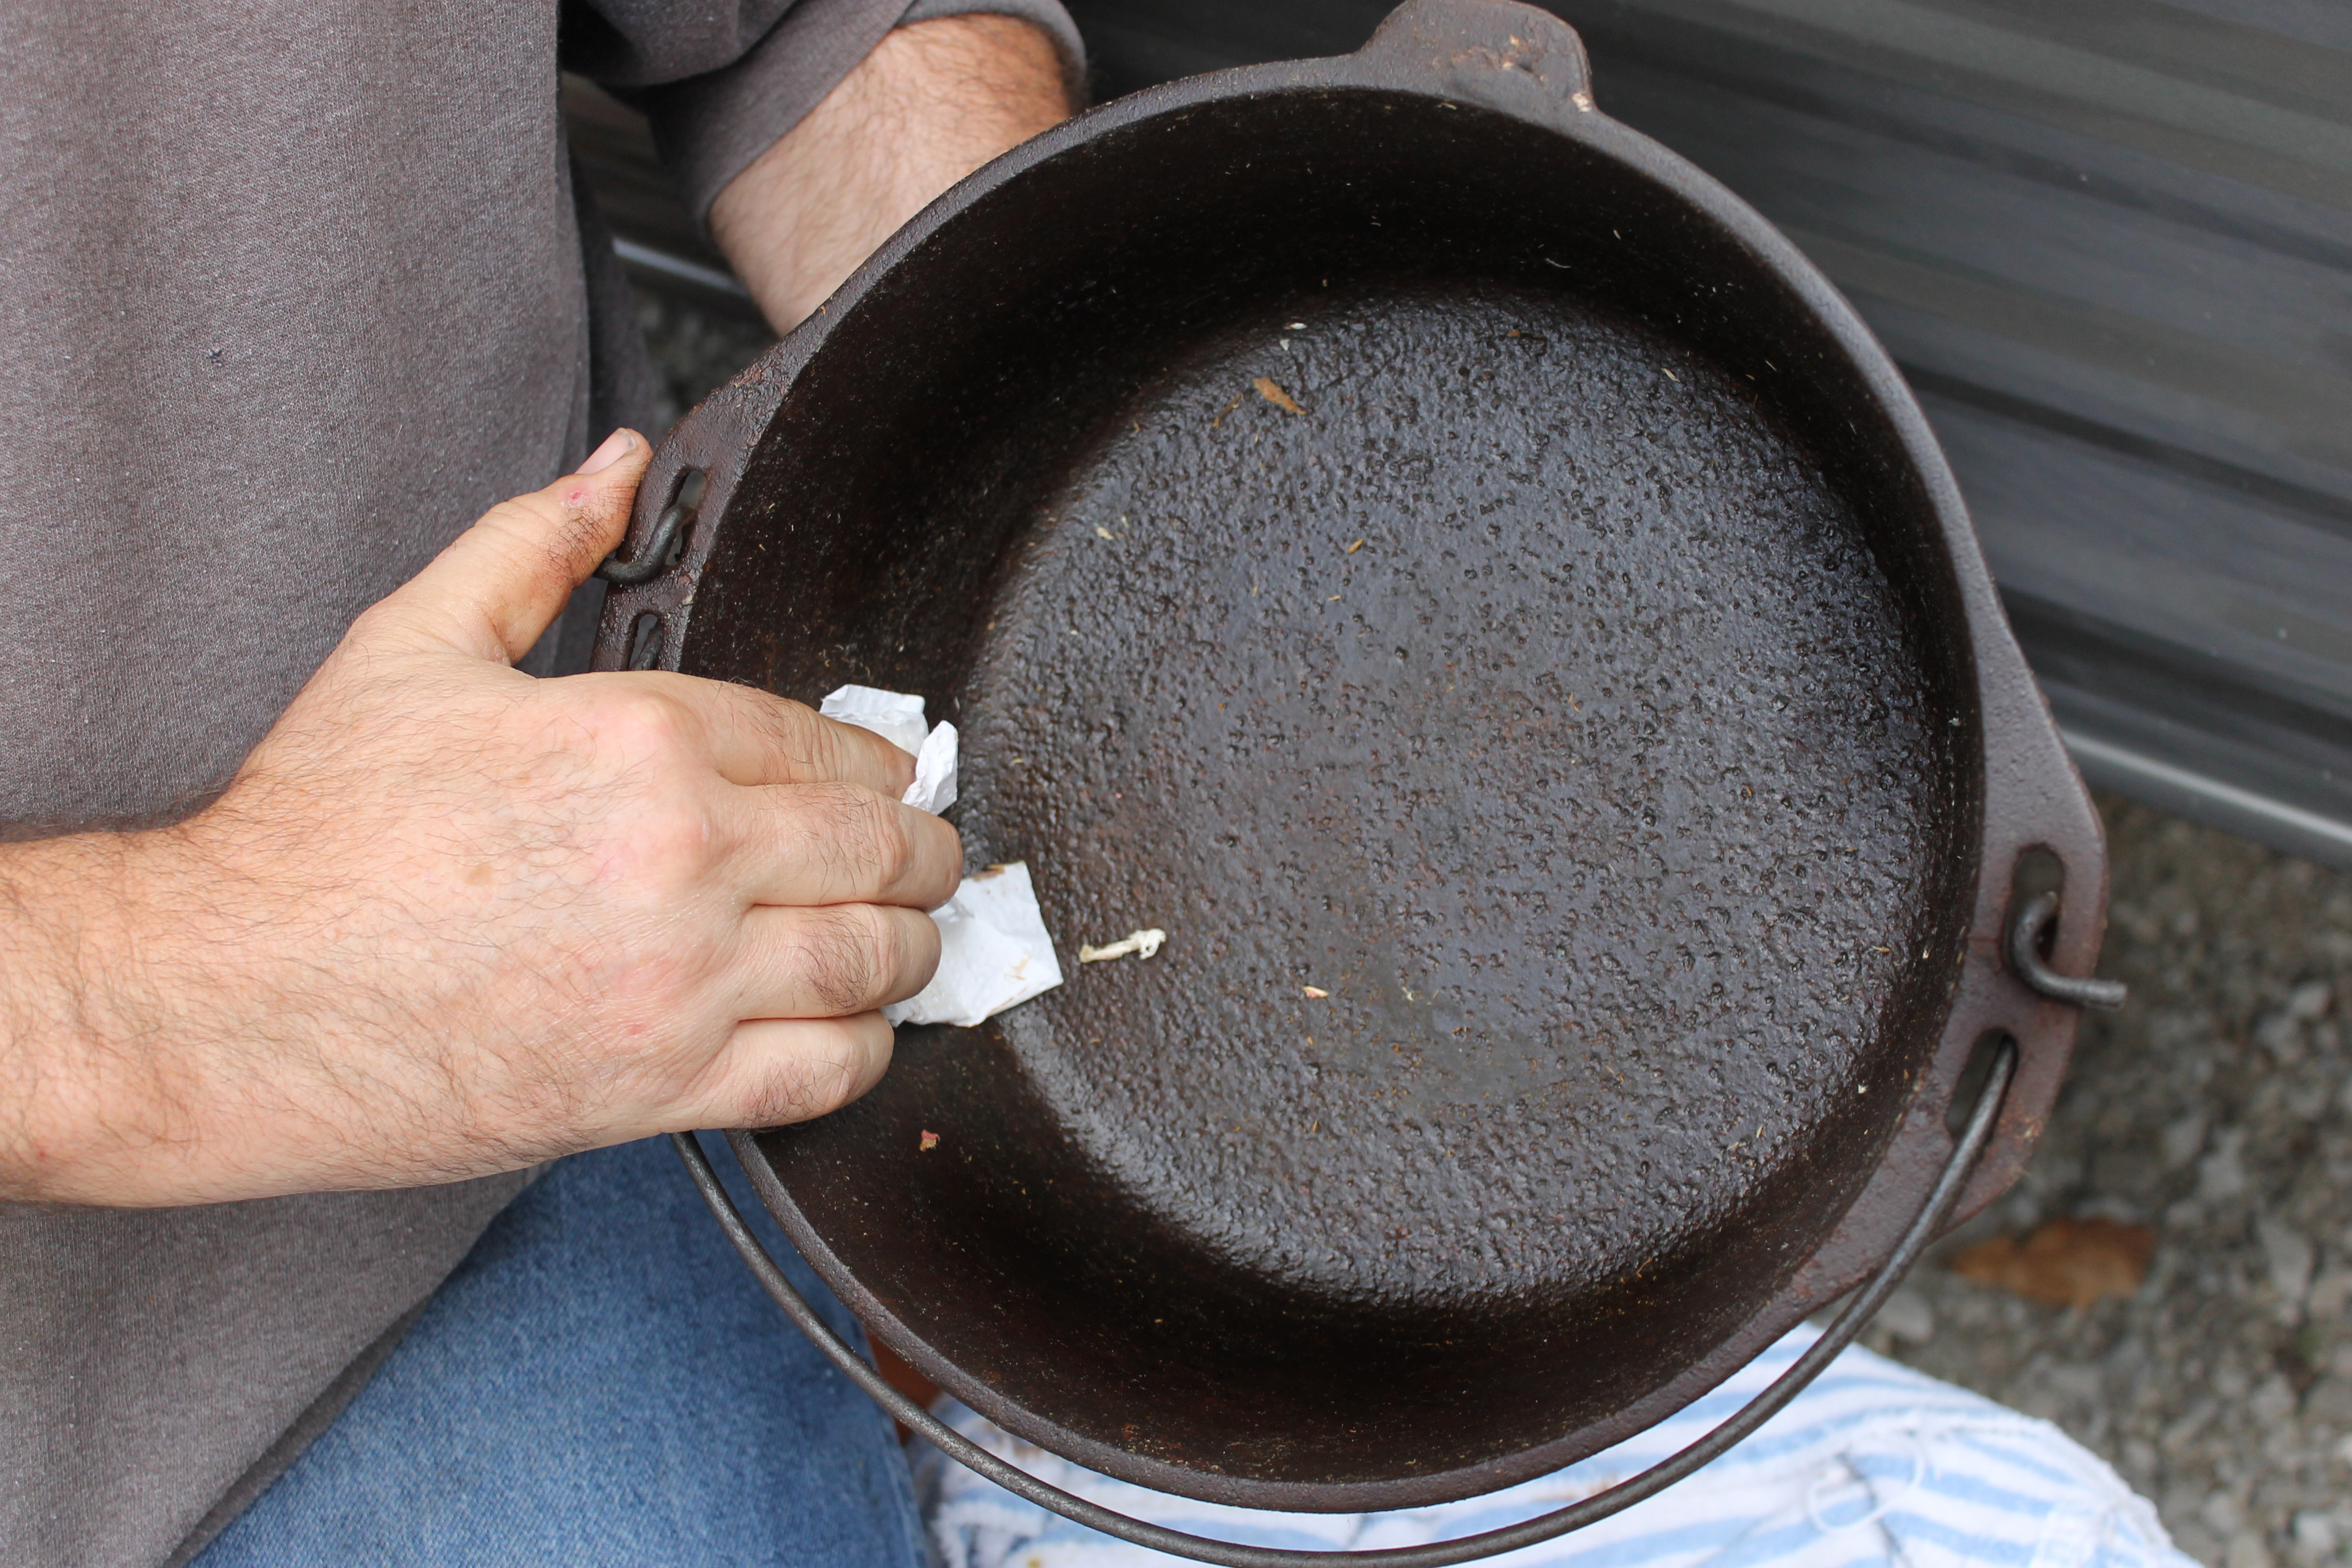
If you have been treating a severely rusty/cruddy piece, scrape and remove the loose gunk and if need be, reinsert it into the container for another treatment. Once you are satisfied with the results, it will be time for the final cleaning, prepping and reseasoning.
Wipe it dry with some old rags. Brillow pads or a little steel wool should suffice for any remaining crud using cleaners like Oxiclean or Bar Keepers Friend and you can use a small wire brush for the detail work. 
The final step is to do a short wash and rinse like you would any other pan. This is the one and only time you are using dish soap in your cast iron. Place your pan into the oven and turn the heat up to approximately 400 degrees. Let it go for a half hour or so to dry.
The seasoning process can take many paths and is there is no single “proper” method; it is based on preference, tradition, etc. See google for details.
If you follow the steps above, you should eliminate the sore wrists and elbows from endless scraping and scrubbing and the frustration of throwing out those cast iron pans before their time.