Homesteading is a lifestyle consisting of the trials and tribulations of self-sufficiency[/dropshadowbox]. From an outsider’s point of view, one might see the instant benefits of this choice as a sense of newfound freedom, privacy, independence, and simplicity. However, those considering this lifestyle also know the deeper layers to homesteading, beginning with arguably the most important factor- food preservation. Those of us living in regions affected by the harsh elements of our ever-changing seasons know just how important it is to stay prepared.
Nowadays, we can hardly run through a department store without our eye catching some sort of artwork or novelty home décor piece that displays the simplicity of a mason jar. I find myself becoming the object of someone’s judgement as I stand in line to pay for my 12-pack, feeling as though a different 12-pack of some sort of liquid redemption might catch less attention than my hollow glass jars. The first and only question I ever receive as soon as I grab them from the grocery store shelf, “What sort of craft are you making?” I already feel guilty and I haven’t even responded yet.
The art of canning is really no art unless you have a great recipe. Perhaps you were lucky enough to inherit a treasured family classic, or maybe you found a new one using a quick Internet search. For those of us stuck in a digital world without the resources or courage to test that questionable recipe from Pinterest, there’s always the tried-and-true recipes than can be used from the Ball® website http://www.freshpreserving.com/recipes-all/ You’ll want to select the appropriate sized jars for your recipe as well. I’m most familiar with the 16-18oz jars, but the smaller 4oz sizes can be great for gift-giving, while the larger 32oz sizes are useful for pasta sauces and pickling larger produce.
The possibilities with canning are nearly endless. This form of canning is also known as the “Hot-Water Bath” method and is mostly preferred for high-acid foods like fruit (jams, jellies, juices, chutneys, etc.), tomatoes and tomato sauces (though some varieties are less acid now and it is recommended that lemon juice be added), and any kind of pickled food. Before you get started, make sure you have the following supplies:
Mason Jars 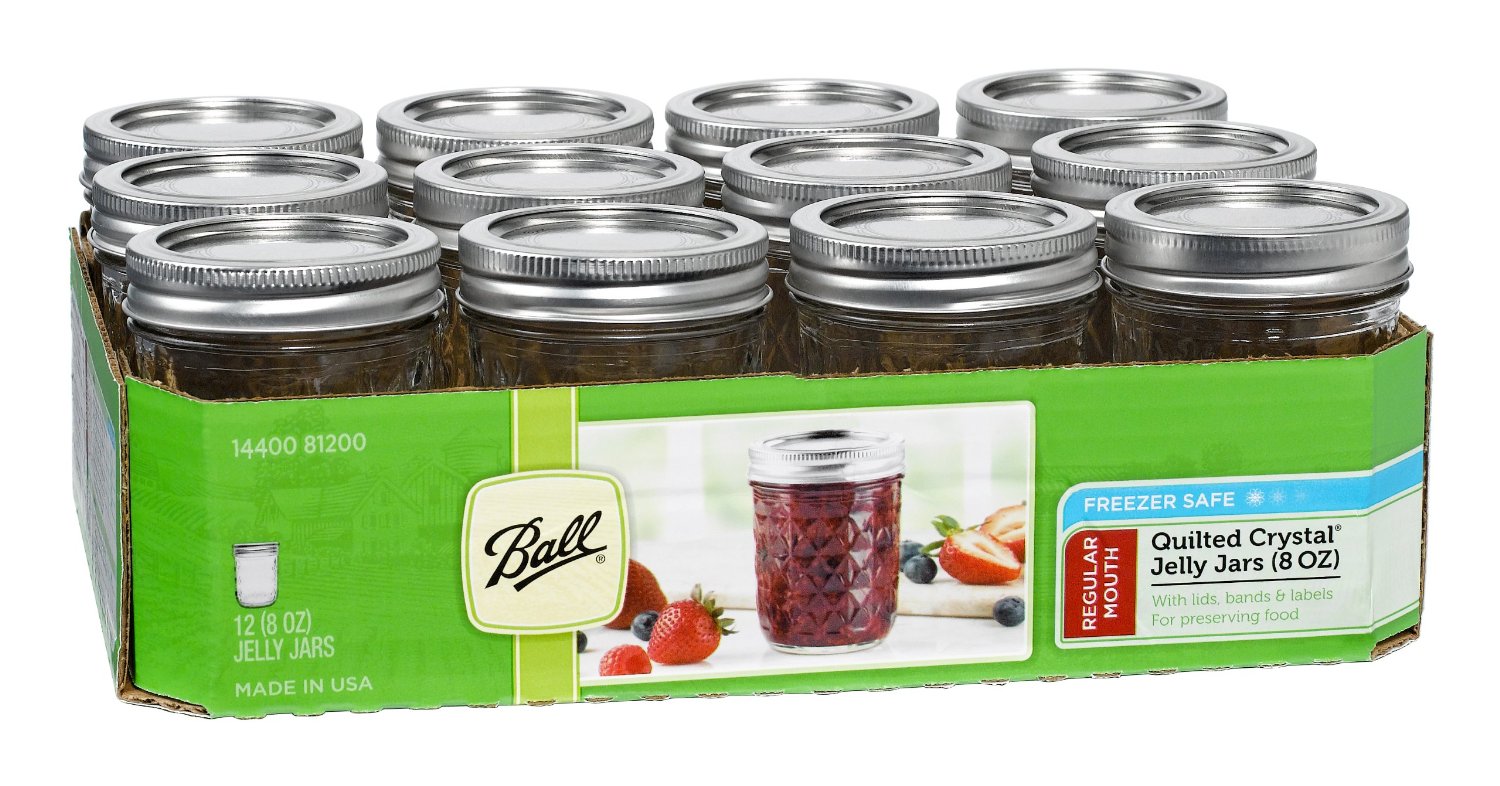
Large, wide-mouth funnel
Jar Lifter (tongs work as well; however, the jar lifter decreases the chance for potential burn injuries!)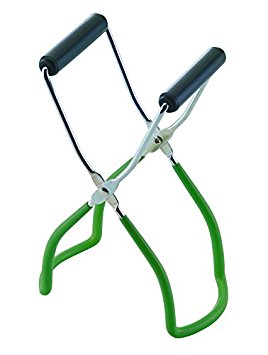
Large stockpot (deep enough for the jars to be submerged into water and leaving at least 1 inch of water on top of the jars)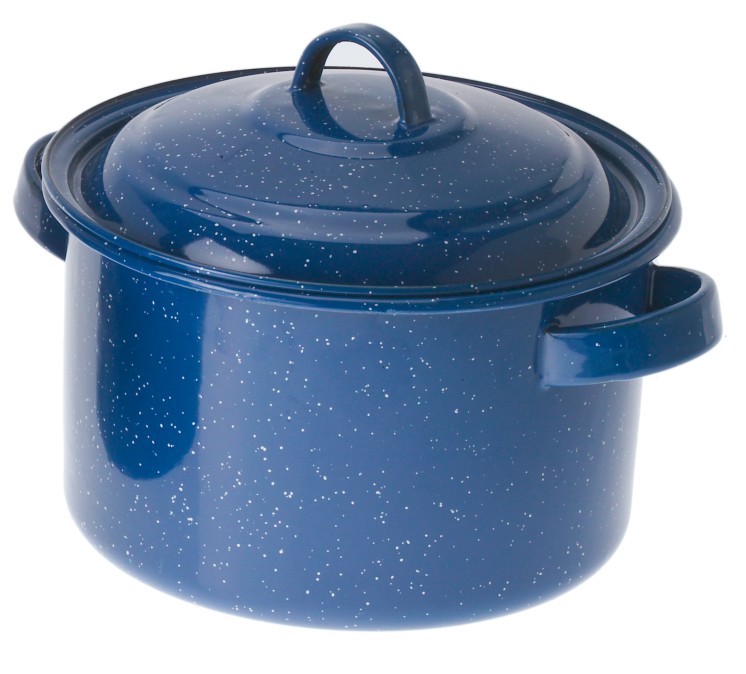
Small pot
Freshest produce/ingredients for your recipe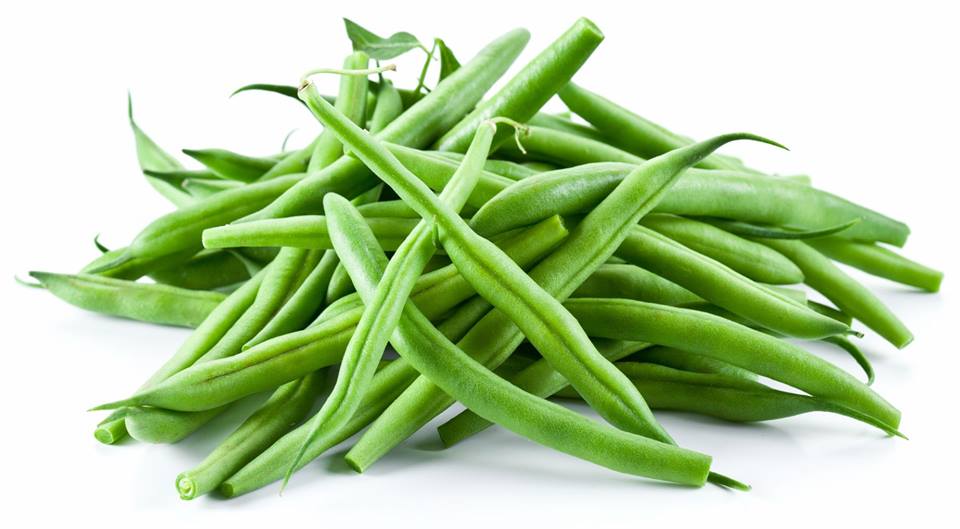
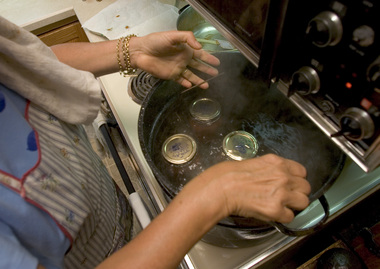
Start by removing the lids and rings from each Mason jar. Place the jars in the stock pot and fill with water. Lids will need to go into the small pot filled with water as well. Bring both pots to a gentle boil. Once the lids have come to a boil, remove from heat and cover with lid. Jars should be placed onto a toweled surface until ready to be filled with desired recipe. By taking this extra step with your lids, you create a higher rate for a successful seal by allowing the seal itself to soften.
Next, use a wide-mouth funnel to add your favorite recipe to the mason jars, leaving ¼ to ½ inch of space from the top of each jar. This space is also known as the “headspace.” Wiping the top of the jar rim clean will allow for a better seal before applying the lid and band to each jar. Firmly press down on the each lid and secure each band before returning the jars to the stockpot. It is important to note that the bands only need to be tightened until secure. Do not over-tighten. This will allow for the air within the jar to escape during the cooling process.
Allow for each filled jar to boil in the stockpot according to the directions of your recipe. It is a rather common practice to allow for a least 1 inch of water to be above the jars in order to ensure accurate results. Jars will make a “pop” sound, indicating that the vacuum seal is formed and has taken hold. 
Once jars are completely cooled and are ready to be stored, completely remove the rings from the jars. By doing so, you are creating an “indicator” that allows you to know if spoilage is occurring. Any sort of growth within the jar will cause the lid to dislodge over time. Note that humidity or any sort of placement within direct sunlight will also promote growth, so it is best preferred that jars are stored in a cool, dark place. The standard shelf life of canned goods typically lasts for up to 1 year.

If you have any canning tips of your own or great recipes to share, feel free to comment below or email us at [email protected] Happy canning!
For some more interesting information check out The Demographics of the American Food Gardener