When it comes to home projects, crafts, exercise, you name it, I want results instantly. I have never had much patience and that has unfortunately made its way into my DIY activities. Something lying around my home that never caught my attention before suddenly needs change and it needs it now before I’ve even settled on a new design for it. While in the moment I may never think so, but I thank the Lord every day that Hobby Lobby and most hardware stores in my area are not open for business 24/7. My family also says thanks, as they prefer their full 8 hours of sleep during the night too.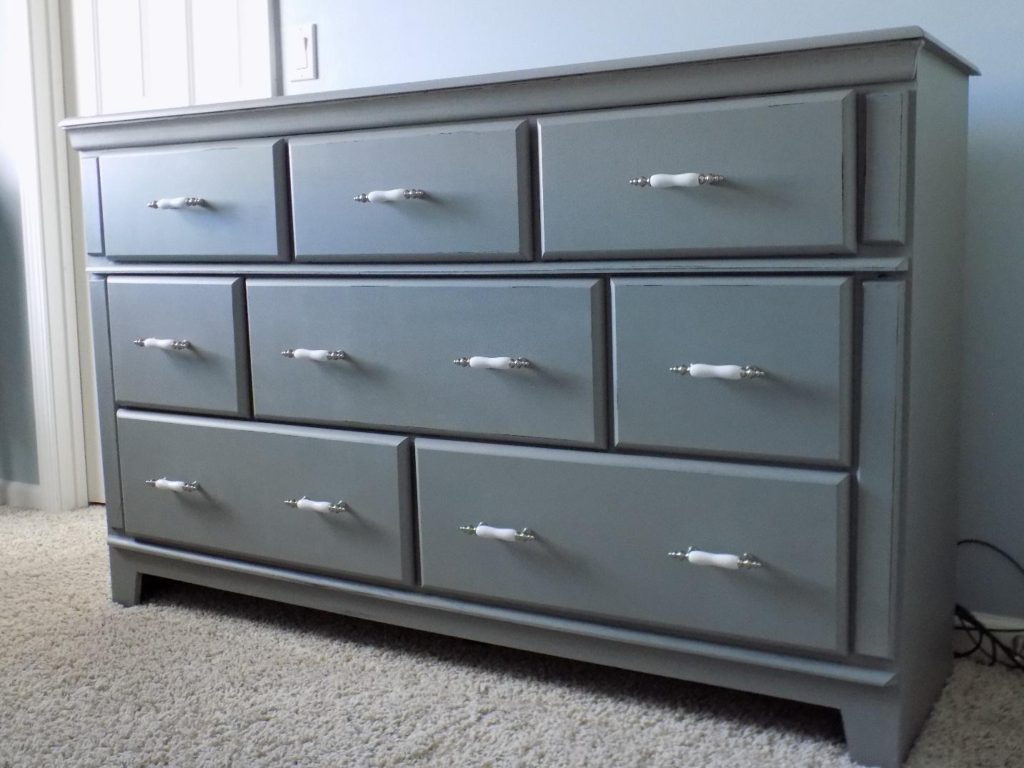
Not long ago, I was introduced to chalk paint. Since then, I have used chalk paint for a variety of projects on several different surfaces. My first project that involved chalk paint was a simple one – painting a wooden table (raw wood). Next, I chose to paint over a large piece of metal wall décor (dark brown), and more recently, an older laminate dresser (dark brown). What did I enjoy most with each of these projects? Completely skipping over the use of primer! Priming something before painting may be ideal with other paints, but I have learned that chalk paint isn’t much like other paints. It’s amazing.
The capabilities of chalk paint really took me by surprise while working on the laminate dresser. Six years ago, my husband and I bought our first home and needed furniture to go with it. We settled on a matching bed and dresser set and thought we were getting a great deal. Six years later and knowing what I do now, I have buyer’s remorse. We spent too much on cheap particle board when we could’ve used that money to purchase real wooden furniture and…never mind. You get what I’m feeling today. Anyway, I considered tossing the dresser to the curb just like I did with that old bed set the dog thought was a bone. Instead, I wanted to try something first. I wanted to keep our home décor fresh and updated while minding the parameters of our family budget as well. If I failed, we could fix it somehow. If I succeeded? Well, I would be justifying that ridiculous price we paid so long ago and fall in love with my unlovable furniture all over again!
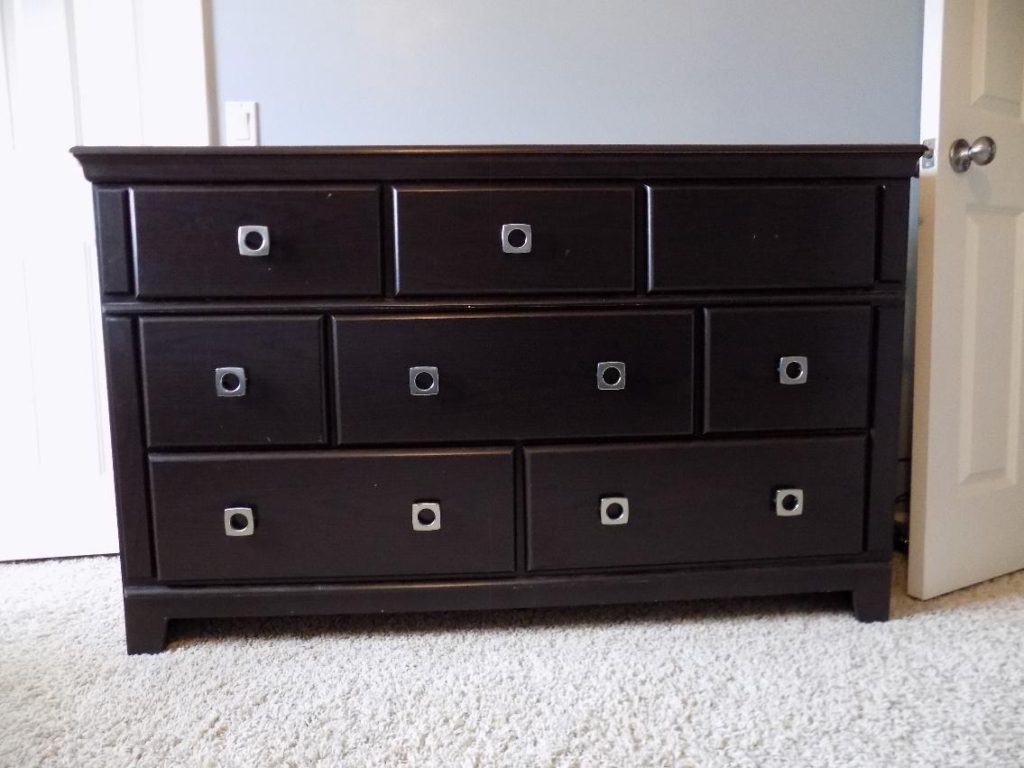
This is what the laminate dresser looked like beforehand. I’ve seen worse, but it certainly doesn’t match the rest of the room it’s in, or any décor within the rest of our home. Time to change that.
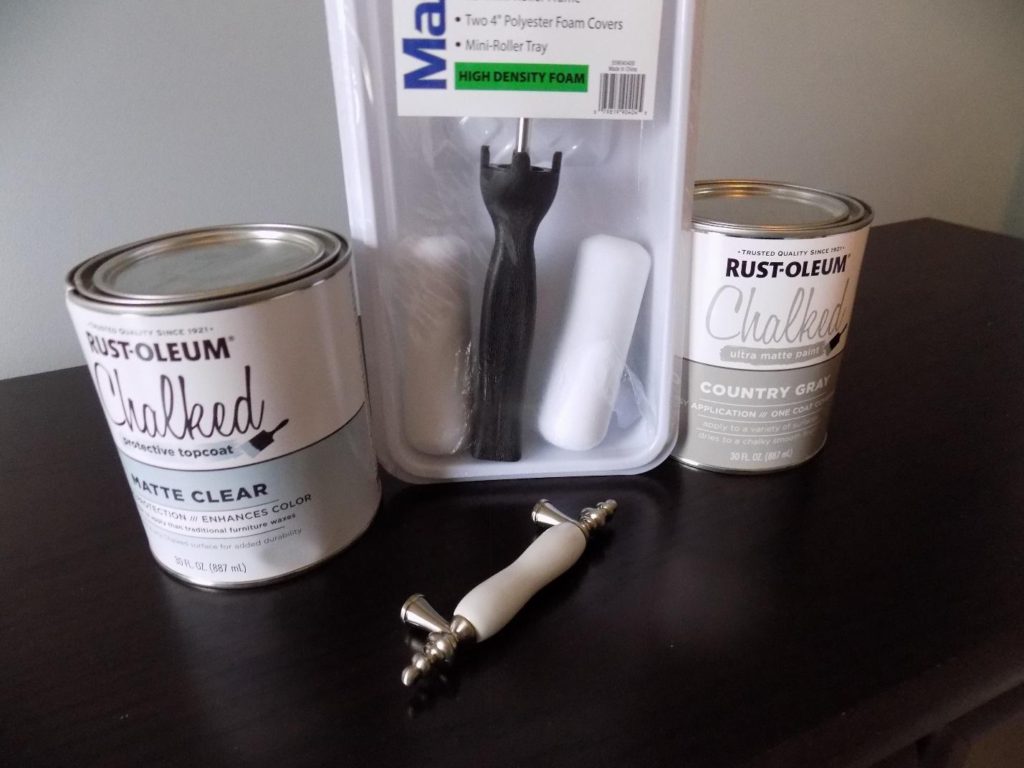
A quick trip to our local home improvement store to get some materials:
Not pictured: wood filler (because the pull knobs on the dresser were such a unique size and width, I had to drill new holes and fill the existing ones. Easy fix!), plastic tarp, a small 1” paint brush, and some tools to fix my unique pull knob situation.
As a stay-at-home mom, I couldn’t exactly carry this thing out to the garage and work on it for hours on end *uninterrupted* (excuse me for a moment while I daydream of what that would be like!) so instead, I placed my large plastic tarp underneath of the dresser and worked on it right where it’s located in the room. For my other two projects, I used the Rust-oleum Chalked Linen Whitecolor. It’s the perfect shade of white and I had no issues with it adhering to the wood and metal surfaces it was applied to. For this project, I chose to use the Rust-oleum Chalked Country Gray color. New color. New surface texture. Time to see what happens.
Even with the poor lighting, you can see that the first coat adhered pretty well. I used the small,high density foam roller to apply the chalk paint and I think that also really helped with each coat that I applied. I finished my project with 2 coats of chalk paint. If I had more patience, I might have done one more coat just to be safe but I’m incredibly happy with the end result and wanted to leave a little bit of worn and weathered appearance to this dresser. After I applied my second coat of chalk paint, I did a little bit of light distressing around the edges of the dresser itself as well as each drawer. Although I have used chalk paint on previous projects, I hadn’t used the Rust-oleum Matte Clear topcoat before. It really did enhance the color of this piece and also leaves the dresser with a texture similar to leather. I love it! I have yet ( or should I say, my husband) to spill any sort of liquid on this surface to see how well the topcoat holds up, but one application left a pretty thick barrier on top of the paint.
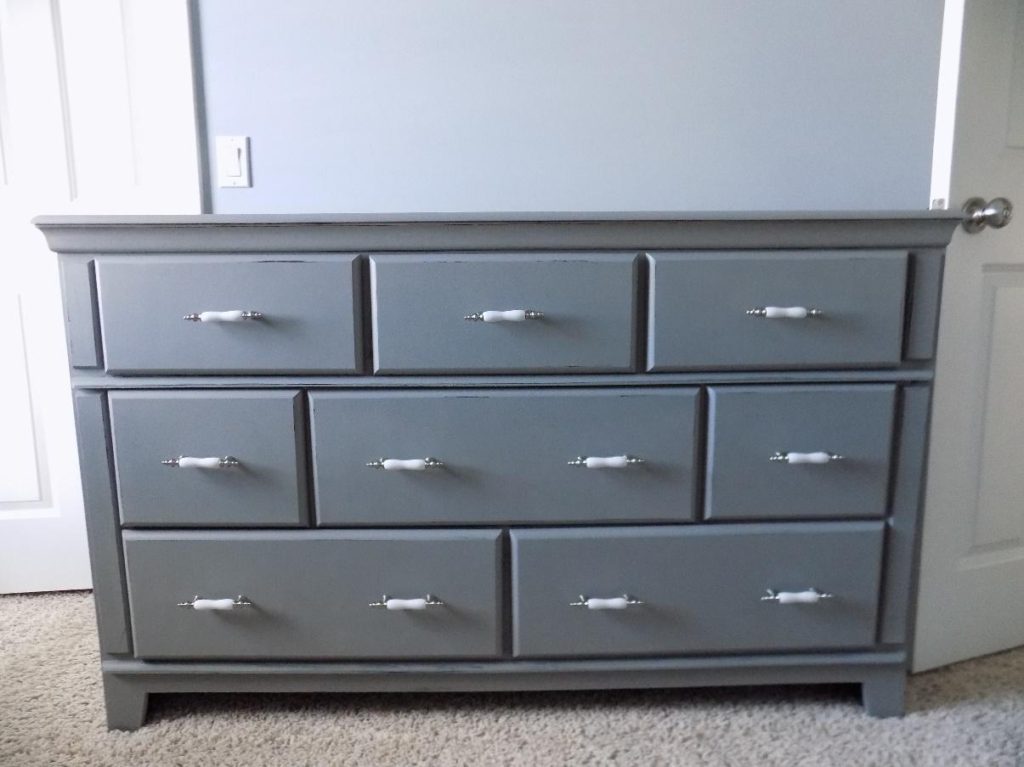
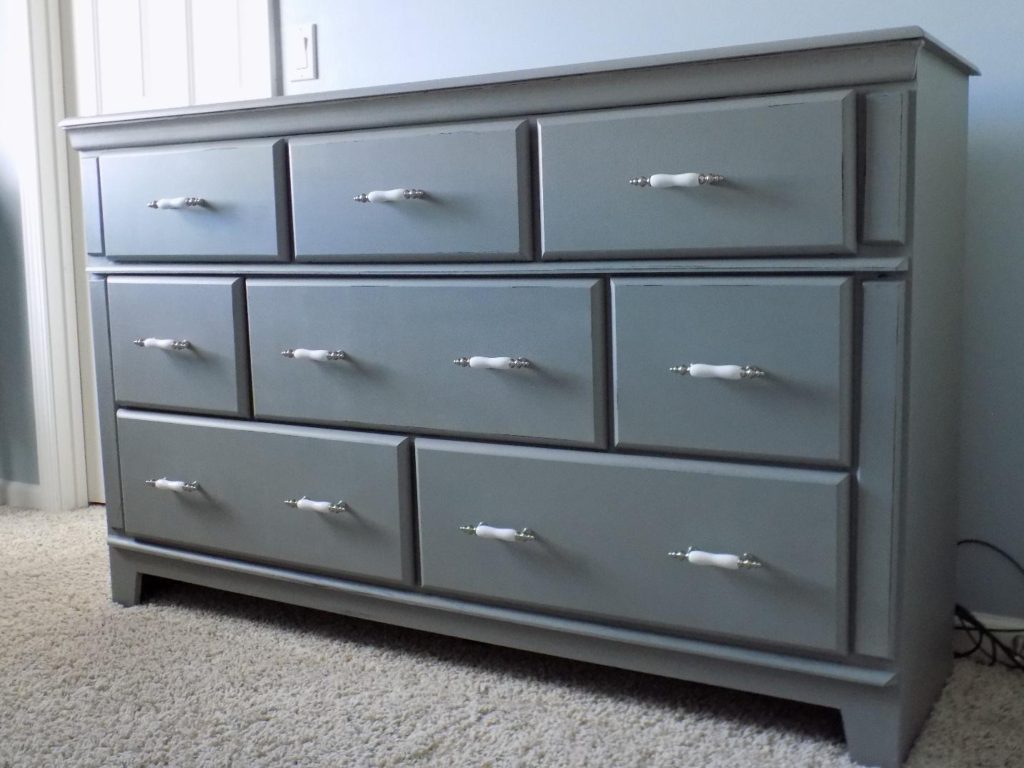
Voila! A new, refreshed look! What I like most is the feel of the dresser. The paint/topcoat together make this feel like a higher quality piece of furniture without giving away any sort of indication that there’s laminate underneath. It now feels and looks like it’s worth the price of the original piece of furniture. Although chalk paint can be a bit expensive, I was able to get each can for under $20/piece. While they are smaller cans of paint, I managed to only use about half of the gray color and not even a quarter of the topcoat. The high-density foam roller kit was only $5, and the hardware for the dresser was around $3/piece. Overall, I kept this upcycle under $100 and managed to change the fate of this now beautiful piece of furniture. What’s your upcycle story? Feel free to leave comments or questions below!
Check out DIY Kitchen Knife Rust Remover

